tekst

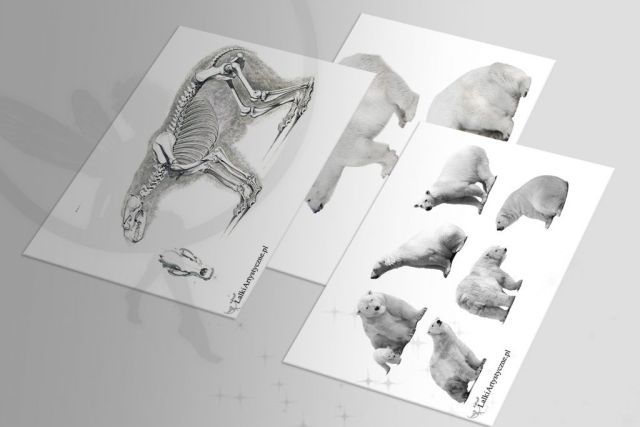
What is he made of? I will describe step by step how I made this bear. If you want, you can make such a bear with me. Finally, I also have a gift to help you create it!
First of all, I will share you a secret:
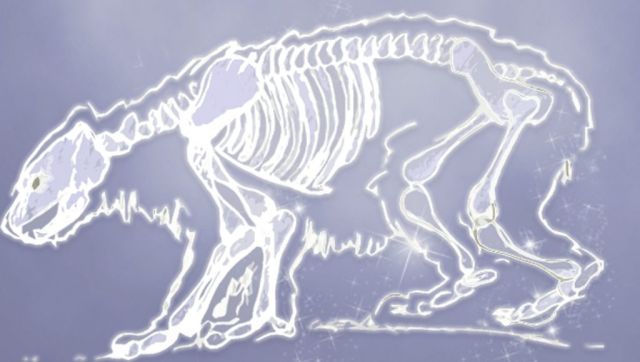
If you want your figurine to look like a real animal, it is important to know the anatomy, how is it “build” inside.
Despite the fact that bears have thick fur, it is impossible to mask everything with it. Otherwise, if you miss the anatomy rules, instead of a teddy bear, you will get a large dog or a seal with legs!
Polar bears have an unique proportions: the small head in proportion to the entire body.
A bear silhouette is different from other pieces: while most four-legged animals walk on the toes, a bear touches the ground with its entire foot, just like a human! Therefore, it can stand steadily on its two legs!

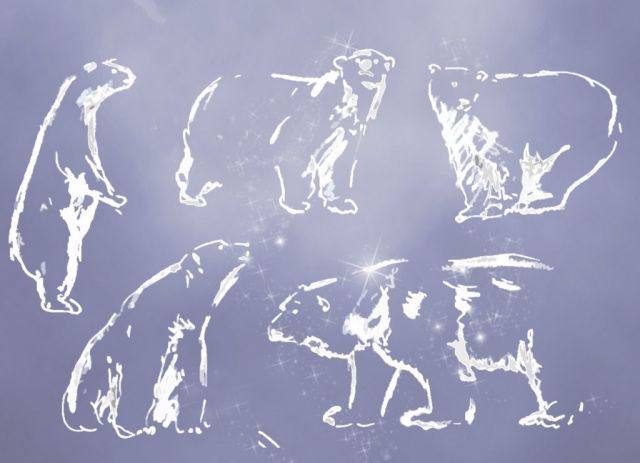
If you have already seen how our teddy bear is built, it is time to decide about the pose you would like to choose, and whether someone or something will be sitting on the teddy bear and where, and how.
It is worth drawing: try to make a sketch in the size and pose of the figurine(s), that you want to make. My teddy bear is 15cm high and about 25cm long. He has a pose like in the picture above.
Place the braided wire on the prepared template in the places where the head, spine, and limbs are located.
Once you have the wire skeleton ready, make the head and all the paws before proceeding to the filling. Remember that after adding fur, your figure will be larger (from the size of this fur).
At this point, the teddy bear should already be in the desired pose. Make sure it doesn’t tip over and stand stabile.
Then you can consider filling your figurines. There are several options for filling:
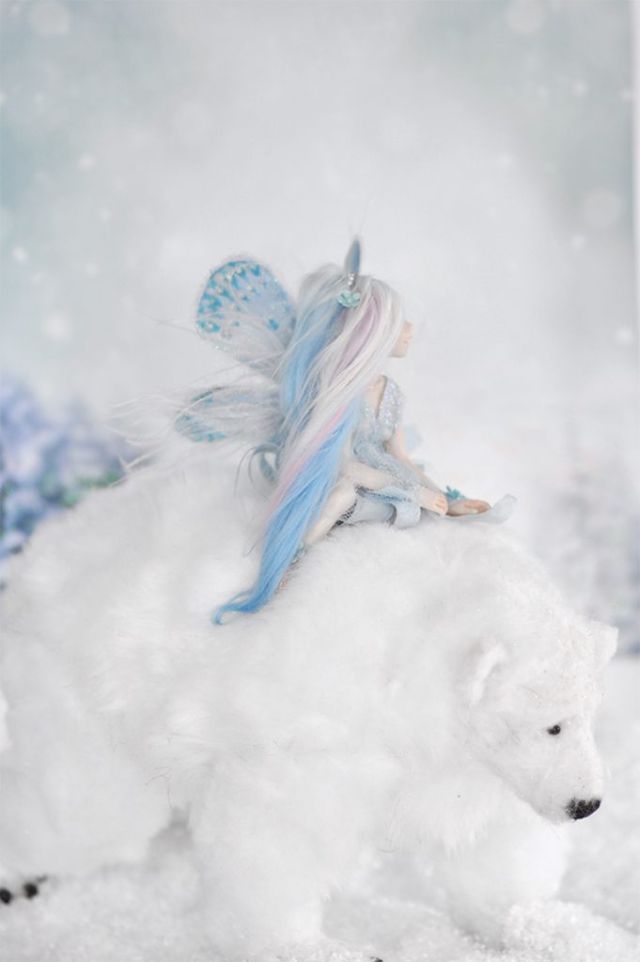
Bear that I have created is made from strong wire, the belly is filled with aluminum foil, while the neck and the part above the shoulder are strengthened with a polymer mass. This is the place where the fairy will be sitting.

Once you have the wire frame with the paws and head, fill in the center. If you chose a synthetic filling, secure it with tape or thin tights.
It’s fur turn!
Here are some options to choose from:
My teddy bear has synthetic fur on the torso, limbs, and neck. It is sewn on and glued to the places where the fur touches the feet or the head. On the head and feet there is a teddy bear with a glued fuzzy little fur, that had been cut very finely before, it was almost the fluff that is used for flocking. I used white glue and in some places transparent FabriTac glue. With another figurine I used spray glue, I highly recommend it, it sticks more conveniently 🙂
Finally, I added separately made of fur ears and a tail. I sewed them tight so that they would stick well. At the end I hammered a nail without a shank in a place prepared for this, it is needed for stabilizing the figurine that will be sitting on the bear.
That how it went! The White Bear is ready. Obviously, this is not a 100% recipe for a successful figurine, not one only way. There are plenty of options to do this! It’s best to start and the rest goes by itself 🙂
That’s all for today. This is how my Bear was made.
Now it’s your turn! Will you try? … Write me in the comment how you are doing 🙂
